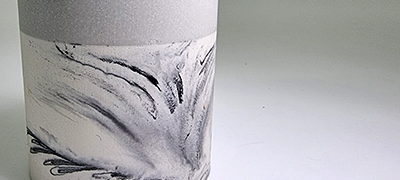
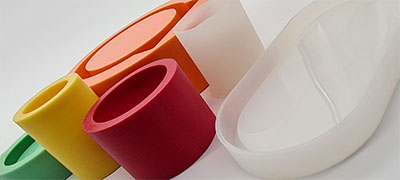
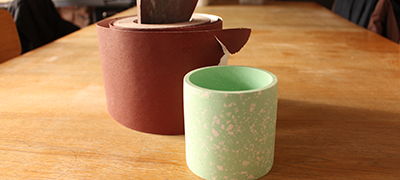
Why use one colour or pattern when you can use two?! With split pieces there are endless ways to get creative. Use two different colours if you just can’t decide on one and let your imagination run wild!
So how exactly do you make split colour pieces? There are two main ways to do it, both equally fun and both giving a beautiful and unique finish. The two cup pour technique works better if you want to create one single piece, whereas if you want to create a few of one piece to sell and have stock of, the snap it up technique will save you time. Let’s dive in!
WHAT YOU NEED
Something to cover your work surfaces
2x clean, dry cups or mixing jugs
Weighing scales
2x mixing sticks
Jesmonite AC100 Base & Liquid
Jesmonite pigments
1x silicone mould
TWO CUP POUR
- As always, before you start, cover your work surfaces.
- Have a think and decide on what your two halves will look like. Are you doing half baby blue and half black and white terrazzo? Are you going with half emerald green and half dusky pink? Have in mind where you’re going with this piece and if you’re not sure, check out our blog on how to mix next season’s colour trends for a little inspo!
- Next it’s maths time! You need to halve the amount of liquid and powder that you need to fill your mould. So, for example, if you need 100 grams of liquid and 250 grams of powder, you’ll half this to 50 grams of liquid and 125 grams of powder.
- In one cup, weigh out your halved amount of Jesmonite liquid. Do exactly the same thing in your second cup so you have two cups of Jesmonite liquid.
- You can then add your chosen pigments to each cup of liquid and mix your pigments into your liquid. For more detail on the correct pigment amounts, take a look at our Starter Guide.
- Weigh out your halved amount of base, add this to one cup of liquid and mix it thoroughly. Repeat this for the second cup. If you’re adding terrazzo chips to one half, add these to the correct cup. If you’re new to terrazzo, check out our handy Terrazzo Guide to get you started. You should now have two cups of Jesmonite mixture that are different colours or patterns.
- Hold one cup in each hand over your mould at two opposite edges of the mould. Tip the cups until the Jesmonite starts to pour. Your two colours or patterns should start pouring at the edge and meet in the middle, until the mould is eventually full and you have a split colour piece. Make sure you tap the sides of your mould to avoid getting air bubbles.
- After 20-30 minutes, carefully remove your piece from the mould.
SNAP IT UP
- As with the two cup pour technique, start by covering your work surfaces and thinking about your colours and patterns. Choose one colour or pattern to start with.
- Weigh out the full amount of Jesmonite liquid needed to fill your mould in one cup on your weighing scales. Add any of your chosen pigments to the liquid at this stage at no more than 2% of the weight of the fully mixed Jesmonite (liquid and powder combined).
- Weigh out the full amount of Jesmonite base powder needed to fill your mould on your weighing scales and mix it into your liquid thoroughly. Add in any terrazzo chips here if you’re using them.
- Pour the mixed Jesmonite into the mould as you usually would, tapping the sides to eradicate any air bubbles.
- After 20-30 minutes your piece should be ready to demould. Carefully remove it from the mould.
- Now you’re going to do something that might break your heart a little. You’re going to snap your piece in half. It’s important to do this as soon as it’s been removed from the mould as it will be easier to snap at this stage.
- Once you’ve snapped your piece, place one half of it back into the mould like a jigsaw and save the other half to make another piece. If you have two of the same mould, you could make two pieces at once here.
- If making two pieces at once, repeat steps 2-3. If you’re making one piece at a time, you’ll need to repeat these steps but halve your quantities.
- Pour your Jesmonite mixture next to the piece you placed in the mould earlier to fill in the gap so that the mould is full. If making two at a time, repeat this for your second mould.
- Leave to set for 20-30 minutes and carefully remove from the mould. Rest the piece on top of the mould to allow air to circulate around it so it sets fully.
- When using the Snap it Up method, your piece will require some finish sanding as it will likely have a ridge where one colour seeps under the other. Take a look at our sanding guide to help you finish your piece to the best standard.
With spilt pieces, you can really personalise your creations to suit any décor perfectly. They make great housewarming gifts or give them to your friends and family for Christmas. You can’t get any better than a handmade gift that’s been made specifically for you!
Have any questions about split pieces or just need a little advice? We’re here to help, just drop us a message at on WhatsApp (below) and we’ll be happy to chat through anything you need.


